Deburring stainless: choosing between tumbling, brushing and electrochemical methods
October 19, 2026
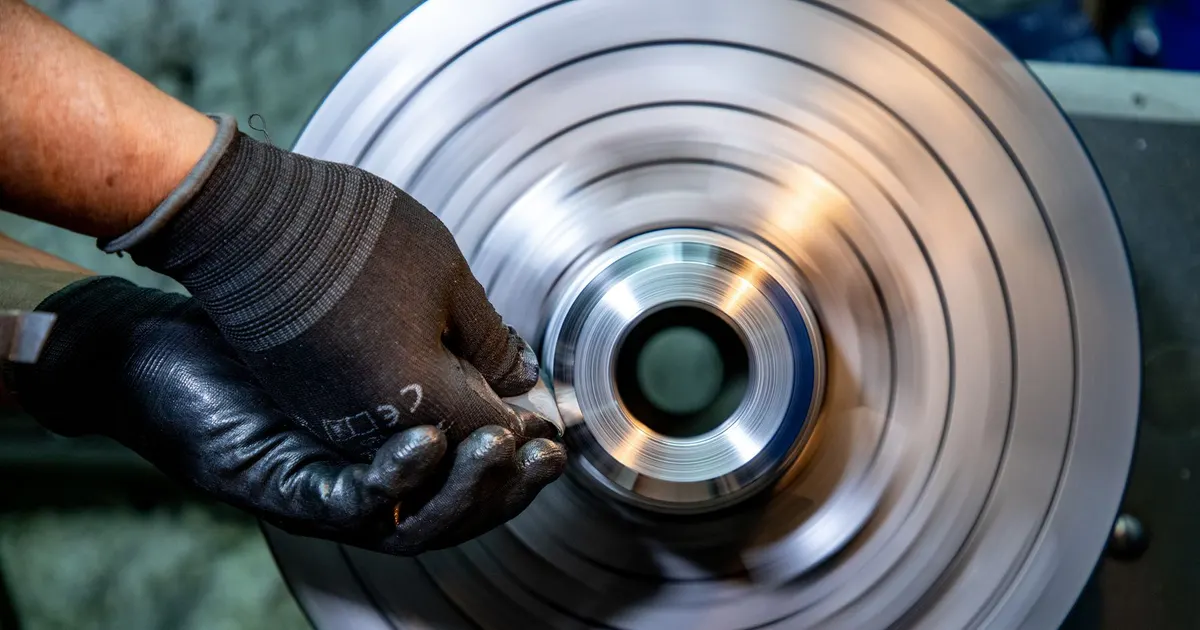
Stainless steel burrs are tougher than carbon steel burrs. The metal work hardens at the cut, so the burr folds over instead of snapping off, and it can be sharp enough to cut a glove or damage a seal. Deburring is also where a good machined stainless part is most often spoiled, because the wrong tool brings iron, scratches or rounded critical edges to a surface that was fine a minute earlier.
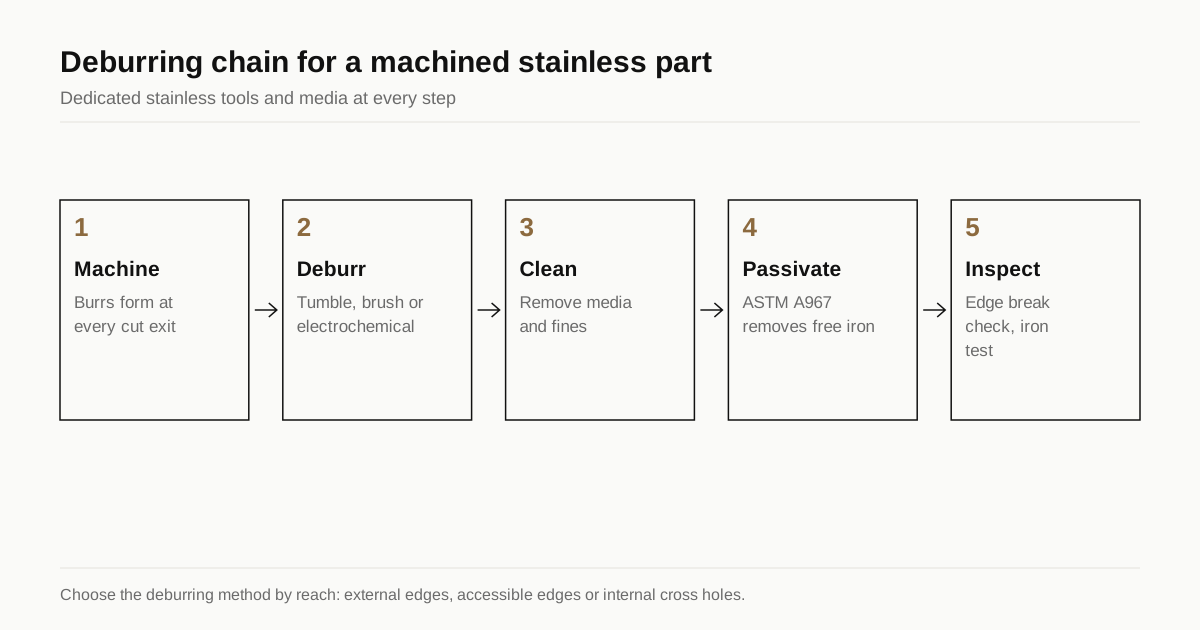
This guide compares the three main deburring routes, shows what each one does to the surface, and explains what to write on the drawing so the result is the same from one batch to the next.
Why stainless burrs are a problem
A burr forms where the cutting edge leaves the material. In stainless the chip is tough and the exit edge is pushed over rather than sheared. The 316L and duplex grades make the biggest burrs, and the austenitic grades work harden the burr so it becomes harder than the base metal. That is why a quick pass with a file leaves a ragged edge and a hard raised line on the next pass. The work hardening guide explains how a rubbing tool makes the burr worse.
Burrs matter for three reasons. They injure users and tear gloves. They break loose in service and contaminate fluid systems. They also trap process residue, which is critical for medical and food parts.
The three common methods
Tumbling and vibratory finishing
Parts move in a bowl or barrel with ceramic or plastic media, water and a compound. The media rubs every exposed edge a little at a time.
- Good for: external edges, many small parts at once, an even edge radius.
- Limits: the media cannot reach deep holes, internal intersections or threads, and parts that touch each other can dent.
- Risks: dents on thin features, rounded sharp corners that the drawing needs sharp, and contamination if media is shared with carbon steel work.
- Surface effect: a satin surface with a small edge radius, typically 0.05 to 0.2 mm.
Brushing and hand deburring
An operator or a machine uses abrasive nylon filament brushes, stainless wire brushes, files or scrapers.
- Good for: targeted work on large parts, specific edges, prototypes and low volume.
- Limits: result depends on the operator, and large batches cost more per part than tumbling.
- Risks: carbon steel wire brushes embed iron. Only stainless wire brushes used on stainless should touch a stainless part, and even those pick up iron if used on other metals first.
- Surface effect: variable. Nylon abrasive brushes can leave a uniform edge radius of 0.1 to 0.3 mm.
Electrochemical deburring
The part acts as the anode in an electrolyte, and a shaped tool sits close to the burr. Metal dissolves from the burr first because the current density is highest there.
- Good for: cross holes, intersecting bores, internal edges and complex parts such as valve bodies and manifolds.
- Limits: needs a tool for each part family, so it suits volume and recurring work.
- Risks: staining or etching if electrolyte residue is not washed off, and needing passivation afterwards.
- Surface effect: typical edge radius 0.05 to 0.15 mm, no mechanical load and no embedded particles.
Other routes exist. Thermal energy deburring burns burrs off in a gas chamber and works for hydraulic blocks. Abrasive flow machining pushes media through internal passages. Electropolishing removes a thin uniform layer and softens edges, but alone it does not remove a large burr. The passivation versus electropolishing guide explains the difference.
Comparison table
| Method | Reach | Typical edge radius | Operator dependence | Contamination risk | Relative cost per part |
|---|---|---|---|---|---|
| Tumbling | External edges | 0.05 to 0.2 mm | Low | Media sharing | Low at volume |
| Hand and brush | Anything accessible | 0.1 to 0.3 mm | High | Brush type | High at volume |
| Electrochemical | Internal and cross holes | 0.05 to 0.15 mm | Low | Electrolyte residue | Medium to high |
| Thermal energy | Internal bores in blocks | Small, variable | Low | Oxide layer | Medium |
Cost and result move with the part. Use the table to start a conversation with a shop, not to set a price.
Contamination: the problem that looks like corrosion
Free iron on a stainless surface is the most common cause of orange spots on newly machined parts. Sources are carbon steel brushes, grinding wheels used on both steels and stainless, tumbling media shared with carbon steel parts and steel wool or abrasive pads. The iron particles rust in a damp environment and stain the surface. The stainless underneath is not corroding, but the part looks bad and a rust spot on a medical or food part is a rejection.
Three controls handle it:
- Dedicated tools and media. The shop keeps brushes, wheels and media for stainless only.
- Chemical cleaning. Passivation to ASTM A967, or the cleaning methods in ASTM A380, dissolves free iron. The citric versus nitric guide covers the options.
- A check. A ferroxyl test or a water immersion test per A380 and A967 shows free iron as blue spots or rust. Ask for it on sample parts.
Need a quote for this part? Get a quote for your stainless parts
What to write on the drawing
An edge note that says break all sharp edges leaves the decision to chance. Better wording:
- Edge break 0.1 to 0.3 mm radius or chamfer unless otherwise stated.
- Burr free, no raised metal detectable by a fingernail.
- Sharp edge, break maximum 0.05 mm on the sealing edge (marked on the view).
- Cross hole intersections deburred.
- Deburring tools and media dedicated to stainless steel.
Mark the critical edges on the drawing. Sealing edges, bearing faces and press fit shoulders must stay sharp or must hold a defined radius, because a tumbling cycle that is good for the housing rounds the sealing corner past tolerance. The tolerance guide shows how small the features that matter can be.
Matching method to part
| Part | Typical route |
|---|---|
| Small turned parts in volume | Tumbling in a vibratory bowl, then passivation |
| Cross drilled shafts and fittings | Brushing with abrasive nylon or electrochemical, then passivation |
| Hydraulic and fluid manifolds | Electrochemical or thermal, then cleaning |
| Large milled plates and housings | Hand and brush, with dedicated tools |
| Medical and food parts | Any of the above, followed by passivation or electropolish and cleaning |
For parts where the finish specification is surface roughness, read the surface finish guide. Tumbling may change the Ra, and electropolishing after deburring usually improves it.
Verifying the result
Deburring is easy to claim and hard to see, so decide at quote stage how it will be checked.
- Visual and tactile check. Under good light and 5 to 10 times magnification, edges should show a uniform break with no raised metal. A fingernail drawn across the edge should not catch.
- Borescope or video inspection of internal intersections on blocks and fittings.
- Edge radius gauge or profile projector for edges that carry a radius tolerance. Sample a few parts per lot.
- Cleanliness check after deburring, because tumbling media and brush fibres can lodge in holes. A rinse and particle check after the final wash shows whether they came out.
- Corrosion check such as a water immersion or humidity test for free iron, as described in the cleaning and passivation standards.
A first article that is approved against a golden sample is the simplest control for repeat work. Photograph the approved edges and keep the sample on file, because the next batch is judged against it.
What deburring costs
Deburring is often the most underestimated line on a stainless quote. A part that is cut in three minutes can take two minutes of hand deburring, and on small parts the hand time exceeds the cutting time. Four factors move the price:
- The number of edges and holes that need attention. Each cross hole and each intersection adds time.
- The tolerance on the edge. A range of 0.1 to 0.3 mm is cheap to meet. A requirement of 0.05 mm maximum on a sealing edge needs a controlled process and inspection.
- Batch size. Tumbling spreads cost across many parts. Hand work does not scale.
- Tooling for electrochemical or thermal work. A tool for one part family has a fixed cost that only pays back in volume.
If a quote seems high, ask the shop to separate deburring from machining. Often a simple drawing change, such as moving a cross hole or allowing a larger edge break, removes more cost than any negotiation does.
Checklist before you request a quote
- Give an edge break range, not just a general note.
- Mark the critical edges that must stay sharp.
- State that stainless tools and media must be dedicated.
- Say whether passivation or electropolishing follows.
- Call out internal intersections that need deburring and how you will inspect them.
When you send the drawing through the RFQ form, we send one itemised quote within 24 business hours and place the work with partner shops that deburr stainless parts. The partner shops do the work.
Frequently asked questions
Why do stainless parts rust after deburring?
Usually because iron from carbon steel brushes, wheels or contaminated media was smeared into the surface. The free iron rusts and the stain looks like the stainless is corroding. Dedicated stainless-only tools and media plus passivation afterwards prevent it.
What edge break should I specify on a stainless part?
State a range, for example 0.1 to 0.3 mm radius or chamfer, and say that sharp edges and burrs are not acceptable. A drawing that says only to break all sharp edges leaves the result to the operator.
Is electrochemical deburring worth the cost?
It is worth it for cross holes, intersecting bores and internal edges that brushes and media cannot reach. It also leaves no mechanical stress or embedded particles. For simple external edges, tumbling or brushing costs less.
Need a quote for this part?
Send the drawing. We read it, send one itemised quote within 24 business hours and place the work with a partner shop that cuts stainless.
Get a quote for your stainless partsFigures in this guide are published specification limits or published typical values for the alloy, not measurements of any part. Machinability is rated against free-machining carbon steel B1112 at 100 and PREN is chromium plus 3.3 times molybdenum plus 16 times nitrogen. The conventions are set out in thereference section and the editorial standards.