Laser marking stainless parts: annealing, engraving and what each does to corrosion resistance
October 21, 2026
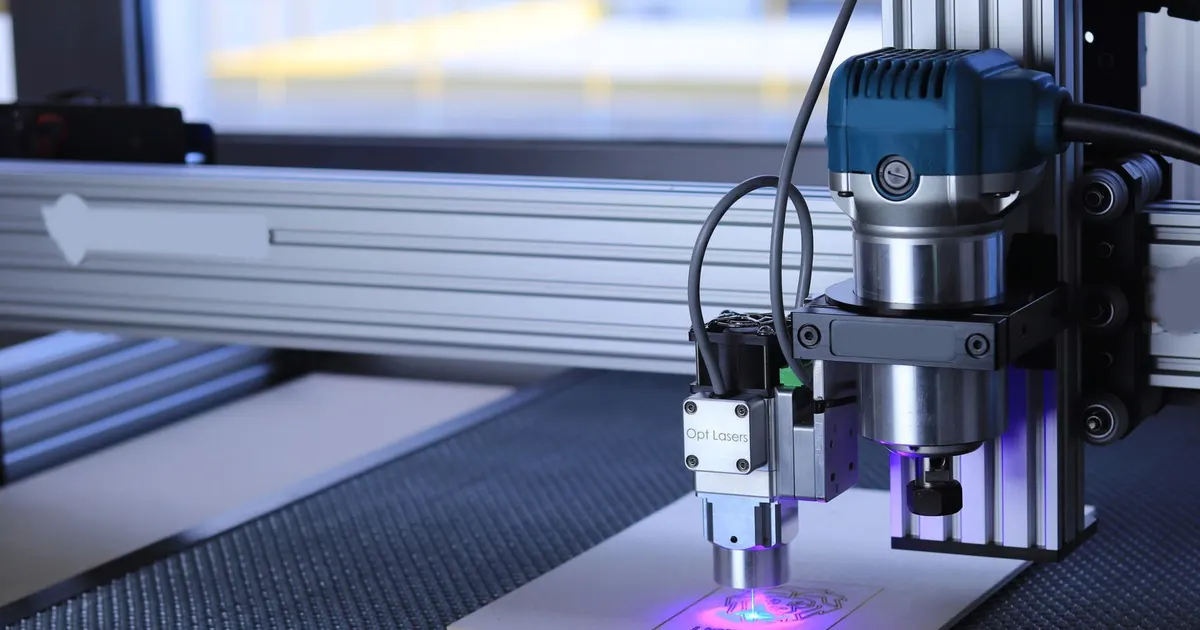
A laser mark on a stainless part looks like a cosmetic detail and gets treated as one. It is also a local heat treatment, and on parts that live in chlorides, cleaning chemicals or body fluids the mark is sometimes the first place a rust spot appears. The buyer decides the mark type, the position and the sequence, so those three decisions are worth making on purpose.
This guide compares the three common mark types on stainless, explains why corrosion resistance can suffer, and gives the order of operations that protects it.
What a laser does to the surface
Stainless steel resists corrosion because a thin chromium rich oxide film forms on the surface. The film is only a few nanometres thick, and it re-forms by itself in air if it is scratched. A laser mark changes that film in one of three ways.
Annealing. A low power beam heats the surface without melting it. A thin oxide film grows, and its thickness determines the colour, from straw through blue to black. Almost no metal is removed. This is the preferred mark for corrosion critical parts.
Engraving. A higher power beam vaporises metal and cuts a groove, typically 20 to 100 µm deep for readable engraving. The result is durable against abrasion and sterilisation cycles. The groove walls and the surrounding zone are heated far more than in annealing.
Etching or surface melting. The beam melts a thin layer that resolidifies as a dark or frosted line. It sits between the other two in depth. Melted layers can trap oxides and chromium depletion, so it is the mark type that most often needs closer checking.
Fibre lasers at about 1064 nm are the usual source. Pulsed sources with adjustable pulse length, often called MOPA lasers, can produce true colour annealing and clean black marks on one machine. The shop will know which it has. What matters to you is the result, so ask which mark type will be used and ask for a sample.
Why corrosion resistance can drop
Heat creates two problems. First, chromium near the surface can combine with oxygen faster than it diffuses up from the bulk, leaving a thin chromium depleted layer under the oxide. Second, the oxide formed at high temperature is thicker and less protective than the natural film, and heat tint on stainless is widely known to reduce pitting resistance until it is removed.
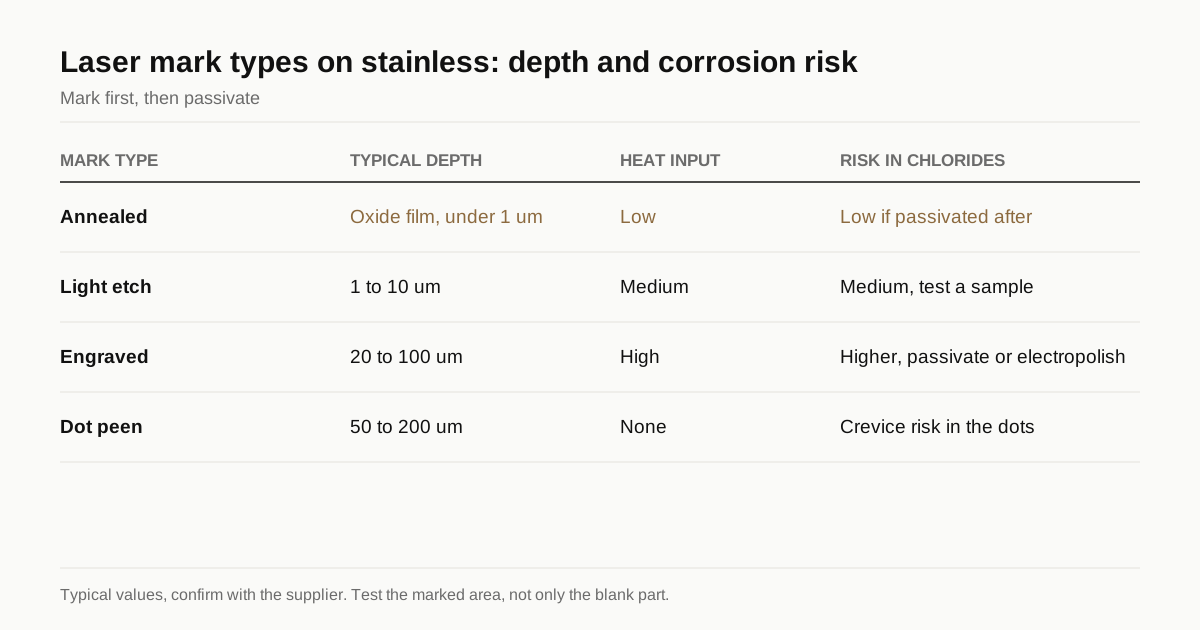
The consequences depend on the grade and the environment. The table gives typical outcomes, not guaranteed results.
| Mark type | Typical depth | Heat input | Corrosion risk in chlorides | Fit |
|---|---|---|---|---|
| Annealed black or colour | Oxide film well under 1 µm | Low | Low when passivated afterwards | Medical, food, wet parts |
| Light etch | 1 to 10 µm | Medium | Medium, test the sample | Cosmetic with mild exposure |
| Engraved | 20 to 100 µm | High | Higher, needs passivation or electropolish | Abrasion, handling, dry parts |
| Dot peen (mechanical) | 50 to 200 µm | None | Crevice risk in the dots | Large parts, heavy marking |
Lower grades suffer more. A mark on 316L leaves more margin than the same mark on 304 or 303. The free-machining sulfur in 303 makes it the poorest candidate for marks in wet service. The 316 versus 316L versus 316Ti guide explains why the low carbon grade is the safer base for marked parts.
The right order: mark, then passivate
If your part needs both a laser mark and passivation, mark first. Passivation after marking removes surface iron and light oxide contamination and rebuilds the chromium rich film over the marked zone. For heavier marks or for parts with a very low Ra target, electropolishing after marking removes a few micrometres and smooths the edges of the mark. The passivation versus electropolishing guide compares the two.
The reverse order has a problem. A part marked after passivation carries an unprotected heat affected zone in an otherwise protected part, and it is that zone that corrodes. If a mark must be added late, such as a serial number after final inspection, ask the shop to re-passivate the marked area or the whole part.
Name the passivation standard, for example ASTM A967 or ISO 16048. The citric versus nitric guide covers which method suits which grade, and the acceptance tests under A967 give you a way to check the result.
Medical and food parts need more than a good-looking mark
Medical parts often need permanent identification. For reusable instruments, the Unique Device Identification rules in the United States can require direct marking, and many buyers require a 2D data matrix code. A data matrix needs contrast and a flat, consistent surface, and annealed black on stainless gives excellent contrast. Check the exact rules for your device class with your regulatory advisor. We do not claim any regulatory status for our partner shops and we make no medical claims.
For surgical instruments, test methods such as ASTM F1089 (copper sulfate test) are sometimes written into the purchase specification. Ask whether the mark area will be included in the sample.
For food contact equipment, the main points are that the mark must not hold product and must clean easily, so a shallow annealed mark beats a deep engraving. Parts to hygienic standards also need to keep their surface roughness. See the food contact grades guide for the wider material choices.
Need a quote for this part? Get a quote for your stainless parts
Position and size of the mark
Where the mark sits matters as much as how it is made.
- Keep it off sealing and sliding surfaces. A mark on an O-ring face or a bearing seat is a defect.
- Keep it off welds and threads. Heat from a mark close to a weld adds to the heat affected zone.
- Leave a flat area. A data matrix of 4 to 6 mm square needs a surface within the laser focus depth, so a curved face or a part with a step may need a rotary axis.
- Allow for finish. If the part is bead blasted or electropolished after marking, the mark can fade or widen. Mark after the final mechanical finish unless the sequence above is followed.
- State the depth. For engraving, give a maximum depth, for example 0.05 mm. Without it, a shop may cut deeper for readability.
Verifying the result
Three practical checks cover most buyer needs.
- Sample approval. Ask for a marked sample in the real grade and finish. Approve readability, colour and position.
- Corrosion test of the marked area. Name the test in the drawing note, for example a salt spray test per ASTM B117 or the copper sulfate test, and state that marked areas are included.
- Code grading. For data matrix marks, ask for a readability grade per the relevant ISO or AIM standard on a sample from the batch.
Add one line to the quality note on the drawing, such as: laser mark annealed, passivated after marking per ASTM A967, marked area included in corrosion test. It avoids debates later.
Marking after other processes
The sequence matters beyond passivation. A few cases come up often.
After heat treatment. Hardened martensitic and precipitation hardening parts can be marked after hardening, but the heat of an engraved mark can locally temper a thin zone. On highly stressed parts, place the mark in a low-stress area and keep it shallow.
After electropolishing. A mark on an electropolished surface leaves the electropolished finish everywhere else, which is the cleanest result for a cleanable part. The mark itself needs passivation again, or use a very shallow annealed mark that leaves the film nearly intact.
After coating or plating. Laser marking through a coating removes it and exposes the bare metal. If the part is coated for corrosion protection, mark it before coating where possible.
On rough surfaces. A bead blasted or rough machined surface scatters laser light, so contrast drops and the code reads poorly. A smoother mark area gives a better code.
Readability over the life of the part
A mark that is perfect on delivery may not be readable after years of use. Annealed marks resist wear well on handled parts but can fade under repeated abrasion or aggressive cleaning. Engraved marks last longer under wear but trap dirt in the groove. For parts that are cleaned and sterilised many times, ask the shop for a sample that has been through a number of your own cleaning cycles and check readability on the aged sample. For parts that are handled with abrasive tools, ask for a depth that survives the wear you expect, and set the limit on depth so corrosion resistance is not traded away.
Do not rely on appearance alone. A dark, high contrast mark can sit on a surface that is chemically damaged, and a faint mark can be perfectly sound. The corrosion test and the readability grade are the two checks that matter.
Checklist before you request a quote
- Choose the mark type: annealed for corrosion critical parts, engraved only where abrasion needs it.
- Fix the sequence: mark, then passivate or electropolish.
- Define the position, size and maximum depth on the drawing.
- Name the passivation standard and any corrosion test.
- Ask for a marked sample in the real grade.
Send the drawing through the RFQ form and mention the mark. We send one itemised quote within 24 business hours and place the work with partner shops that run marking and finishing in house or through a partner. We own no machines.
Frequently asked questions
Does laser marking reduce the corrosion resistance of stainless steel?
It can. A light annealed mark leaves the surface almost unchanged, while a hot or deep mark can deplete chromium locally and become a starting point for pitting. The risk is controlled by choosing the mark type, keeping heat input low and passivating after marking.
Should I laser mark before or after passivation?
Mark first, then passivate. Passivation after marking rebuilds the chromium rich layer over the mark and removes light contamination. Marking after passivation leaves the heat affected area unprotected unless you passivate again.
What is the difference between annealed and engraved laser marks?
An annealed mark heats the surface to grow a thin oxide film that shows as dark or coloured lines and removes almost no metal. An engraved mark vaporises material to a depth of some tens of micrometres. Engraving is more durable under abrasion but changes the surface more.
Need a quote for this part?
Send the drawing. We read it, send one itemised quote within 24 business hours and place the work with a partner shop that cuts stainless.
Get a quote for your stainless partsFigures in this guide are published specification limits or published typical values for the alloy, not measurements of any part. Machinability is rated against free-machining carbon steel B1112 at 100 and PREN is chromium plus 3.3 times molybdenum plus 16 times nitrogen. The conventions are set out in thereference section and the editorial standards.