Surgical instrument parts in stainless: the decisions to settle before the drawing leaves your desk
October 27, 2026
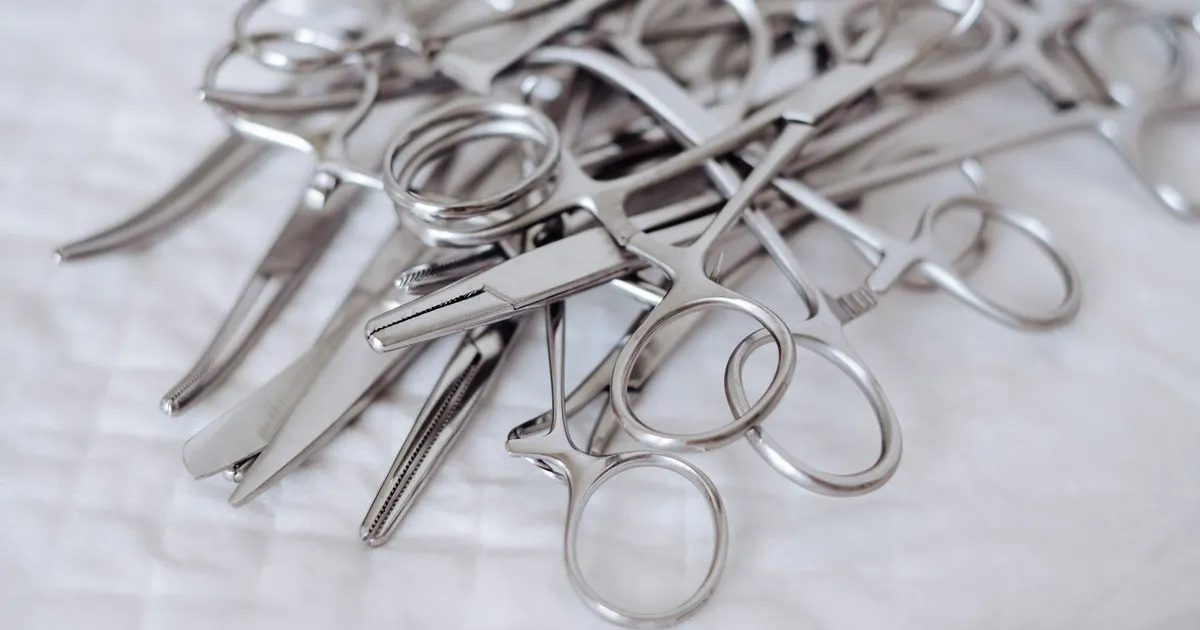
A surgical instrument part is a small machined stainless part with a long list of invisible requirements. It has to survive hundreds of steam sterilisation cycles, cleaning with detergents that contain chloride, handling by people who drop things and scrutiny under bright operating lights. The machining is rarely the hard part. The difficulty is writing a drawing and a purchase specification that cover grade, hardness, finish, cleaning and documents, so that the shop makes what you meant.
This guide is a buyer checklist. It covers the decisions that belong on the drawing and the points to ask a shop. It makes no medical claims and no claim about any regulatory status. Device class, regulatory route and testing are for your own quality and regulatory advisers.
Match the grade to the job
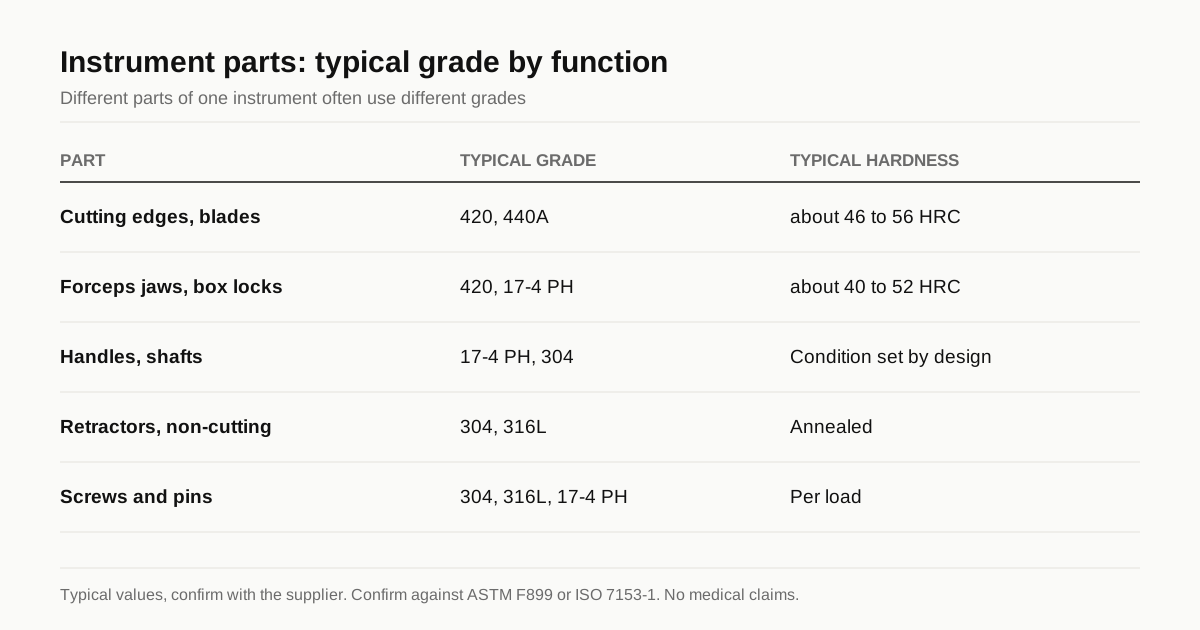
Instruments are not made from one steel. Different parts of the same instrument often use different grades.
| Instrument part | Typical grade | Why |
|---|---|---|
| Cutting edges, scissor blades, curettes | 420 or 440A, hardened | Hold an edge, hardenable to about 50 HRC |
| Forceps jaws and tips | 420, 17-4 PH | Hardness for wear, strength |
| Box locks, hinges, ratchets | 420, 17-4 PH | Wear and strength |
| Handles, shafts, bodies | 17-4 PH, 304 | Strength and corrosion resistance |
| Retractors and non-cutting parts | 304, 316L | Corrosion resistance, no hardening needed |
| Cannulas and tubes | 304, 316L | Drawn tube, cleanable |
| Screws and pins | 303, 304, 316L, 17-4 PH | Depends on load and corrosion |
Hardness depends on the grade and the heat treatment. For 420, a common range is about 46 to 56 HRC after hardening and tempering, with the lower end for tougher parts. For 17-4 PH, the H conditions set strength between roughly 28 and 44 HRC, see the 17-4 PH against 15-5 PH guide. The martensitic stainless guide explains what hardening does to corrosion resistance.
Product standards help. ASTM F899 lists wrought stainless steels for surgical instruments, and ISO 7153-1 covers metallic materials for surgical instruments. Name the standard on the drawing if your design requires it, and check the current edition.
Avoid free-machining grades such as 303 and 416 on parts that see repeated steam sterilisation and chlorides. The added sulphur is a corrosion weak point. The 303 against 304 and 316L guide explains the trade.
Hardness and heat treatment
State the final hardness range and the test method. Without it, a hardened part can be too soft to hold an edge or too hard to survive bending.
- Hardness range: for example 48 to 52 HRC, measured per ASTM E18 on a specified surface.
- Heat treatment: who does it, the temperatures and the record. Hardened martensitic parts are usually rough machined, heat treated, then finish ground or finish machined.
- Distortion: slender hardened parts bend in heat treatment. Plan straightening and a final machining or grinding step.
- Tempering: tempering after hardening reduces brittleness. Specify the tempering range if toughness matters.
- Cryogenic or deep freeze step: optional in some processes to convert retained austenite. State it only if your design needs it.
Hardening reduces the corrosion resistance of the martensitic grades compared with the annealed state, which is why the finishing chain matters.
Surface finish and passivation
Finish serves three purposes on an instrument: reduce glare, aid cleaning and protect from corrosion.
| Finish | Typical roughness | Use |
|---|---|---|
| Bead blast or matt satin | Ra 0.8 to 1.6 µm | Reduce glare on handles and shafts |
| Fine satin or brushed | Ra 0.4 to 0.8 µm | General instrument bodies |
| Mirror polish | Ra 0.1 µm or lower | Specific functional surfaces, less common now due to glare |
| Electropolished | Ra 0.2 to 0.4 µm typical | Cleanability, crevice-free surfaces |
Typical values only. The surface finish guide explains what each route achieves.
Passivation is standard on stainless instruments. Name the standard, for example ASTM A967, and say whether citric or nitric acid is acceptable, since some customers restrict one. The citric versus nitric guide compares them. For finish-sensitive parts, see the passivation versus electropolishing guide.
Finishes that change dimensions need an allowance: electropolishing removes about 5 to 25 µm, and blasting roughens and peens.
Tolerances and the features that cost money
Instruments have mating parts: box locks, ratchets, hinges and thread engagements. These need controlled fits. Tight tolerances belong on the functional features only.
- Give the tight tolerance to the pivot hole and pin, the box lock fit and the jaw alignment.
- Leave handle and shaft dimensions on a general tolerance.
- Tolerance and cost are linked, see the tolerance guide.
- State edge breaks. Sharp edges on handles injure users, while sharp edges on cutting blades are functional. Mark which is which on the drawing.
- For tips, state radius or point geometry with a tolerance.
Surface defects matter as much as dimensions. Scratches, pits and tool marks that trap residue are rejection reasons. State a visual standard, for example no scratches visible at 10x magnification on functional surfaces.
Cleaning and packaging
Parts leave the shop to go into an assembly or a cleaning and sterilisation chain at the device manufacturer. State what the shop must do:
- Clean after machining and finishing and passivate.
- Define cleanliness criteria and the test. See the medical cleaning guide.
- Pack in clean bags or trays, with lot labels, so parts do not scratch each other.
- Keep lots separate and traceable.
Sterilisation, bioburden and endotoxin control are normally the device manufacturer’s job, not the machine shop’s. Agree this at quote stage.
Need a quote for this part? Get a quote for your stainless parts
Documents to request
| Document | What it proves |
|---|---|
| Material certificate (EN 10204 type 3.1) with heat number | Grade, chemistry, mechanical properties |
| Heat treatment certificate | Process and hardness |
| Dimensional inspection report | Parts meet the drawing |
| Passivation certificate | Process and standard |
| Surface roughness report | Finish meets specification |
| Certificate of conformance | The shop states conformance to the PO |
| Lot or serial traceability record | Link from part to material heat |
The mill certificate point in the RFQ checklist covers the basics. Define the document set at quote stage because documents take time and cost money.
Questions to ask a shop
- Have you made hardened martensitic or precipitation hardening parts of this kind?
- Who performs heat treatment and finishing, and how is it controlled?
- What inspection equipment and report formats do you use?
- What quality certificates do you hold, and do they cover this part? See the ISO 13485 against ISO 9001 guide.
- How do you keep lots traceable from bar to finished part?
- How do you handle cleaning and packaging?
The vetting guide expands on the checks.
How instruments fail, and what that means for the drawing
Instruments come back from the field with a short list of problems, and each one traces to something a buyer can control at drawing stage.
Staining and pitting. Reprocessing exposes instruments to saline, blood, detergents and steam. Chloride in any of them can pit a part with a weak passive layer. The causes are poor passivation, embedded iron, a grade with too little chromium after hardening or a crevice at a hinge. Specify passivation, a clean finishing chain and a grade suited to the service.
Dull or chipped edges. Cutting edges that are too soft dull quickly, and edges that are too hard chip. The hardness range is the lever, together with a correct tempering step.
Loose or stiff joints. Box locks and hinges depend on fit tolerances and surface finish. Parts that are in tolerance individually can bind or loosen together if the stack of tolerances was not planned. Give the fit between the mating parts, not only each dimension.
Galling at joints. Stainless on stainless wears and seizes under repeated use. Different hardness or grade for the mating parts reduces it, and the Nitronic 60 guide covers a galling resistant option for moving joints.
Cracking at sharp corners. Hardened parts with sharp internal corners crack at the corner under load. Specify a radius.
Glare. A bright polished surface reflects the operating light into the surgeon’s eyes, which is why most handles carry a matt or satin finish.
Small runs and the first order
Instrument parts are often bought in small batches, with frequent design changes in the early phase. A few habits reduce cost and delay.
- Order a first article lot of a few pieces, with full inspection, before committing to volume.
- Freeze the drawing revision for the lot and note the revision on the purchase order.
- Agree the acceptance method for appearance with a sealed master sample.
- Plan the heat treatment lead time into the schedule, because hardened parts often wait for a furnace slot.
- Keep all documents together by lot, since a missing certificate can hold up a whole shipment.
The prototype versus production guide explains how cost changes between the first lot and a repeating run, and applies directly to instrument parts.
Marking and identification
Instrument parts often carry a part number, lot code or a data matrix. Decide the method, because it changes the finish chain. Laser annealed marks keep the passive layer best, as the laser marking guide explains, while engraved marks last longer under wear. Mark after final finishing, then passivate. State the position and size on the drawing, and keep marks away from cutting edges, hinges and sealing faces.
Checklist before you request a quote
- Grade by part, with hardness and heat treatment.
- Product standard for material, if required.
- Tolerances on functional features only, edge breaks stated.
- Finish, roughness, passivation standard.
- Cleaning and packaging requirements.
- Document list and traceability level.
- Annual volume and release size.
Send the drawing through the RFQ form. We send one itemised quote within 24 business hours and place the work with partner shops that machine stainless instrument parts. We make no medical claims and we manufacture nothing ourselves.
Frequently asked questions
Which stainless grade is used for surgical instruments?
It depends on the function. Hardenable 400 series grades such as 420 and 440 are used for cutting edges and tips, 17-4 PH for strong instrument bodies and handles, and 304 or 316L for non-cutting parts that need corrosion resistance. The product standards ASTM F899 and ISO 7153-1 list the materials.
What surface finish do instrument parts need?
Most are passivated, and many carry a satin or matt finish that reduces glare under operating lights. Some require electropolishing for cleanability. State the finish and roughness on the drawing rather than leaving it to the shop.
Does a machine shop need a medical certificate to make instrument parts?
That depends on your own quality system and the regulatory route for your device. A quality certificate such as ISO 13485 is common for regulated work, but we make no claim about any shop. Ask each shop for the certificates it holds and decide what your device needs.
Need a quote for this part?
Send the drawing. We read it, send one itemised quote within 24 business hours and place the work with a partner shop that cuts stainless.
Get a quote for your stainless partsFigures in this guide are published specification limits or published typical values for the alloy, not measurements of any part. Machinability is rated against free-machining carbon steel B1112 at 100 and PREN is chromium plus 3.3 times molybdenum plus 16 times nitrogen. The conventions are set out in thereference section and the editorial standards.